


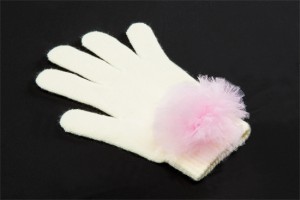
DIY Tutu Puff Gloves!
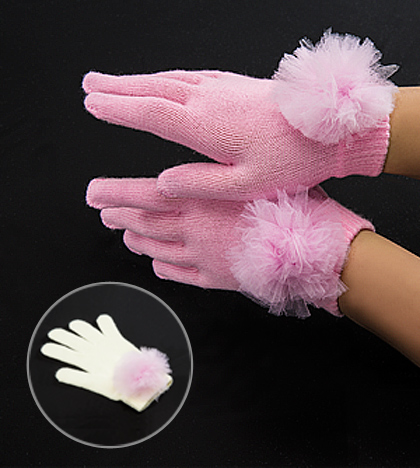
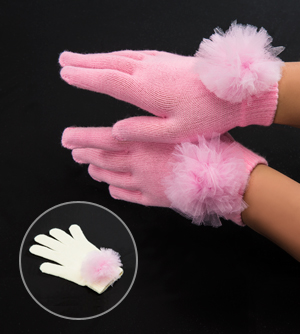 The perfect way for your favorite ballerina to warm chilly hands, these adorable tutu gloves are super easy and inexpensive to make. The whole project can be done for less than $7! You can get a 7.5 yard spool of tulle at your local craft or fabric store for about $3, basic gloves for $1, and needle and thread for about $2. You can even use the Stitch Kit already stashed in your dance bag!
BONUS: You will have plenty of tulle left over to make additional tutu puffs for other projects.
This fun and easy project is great for kids old enough to use a sewing needle and makes a great gift for the holidays!
- TIP: Use white performance gloves such as these to make a whimsical performance accessory. Tulle spools come in a variety of colors so the possibilities are endless!
Level: Beginner, Time: Less than 20 minutes.
[tabs tab1=”Supply List” tab2=”Instructions”]
[tab id=1]
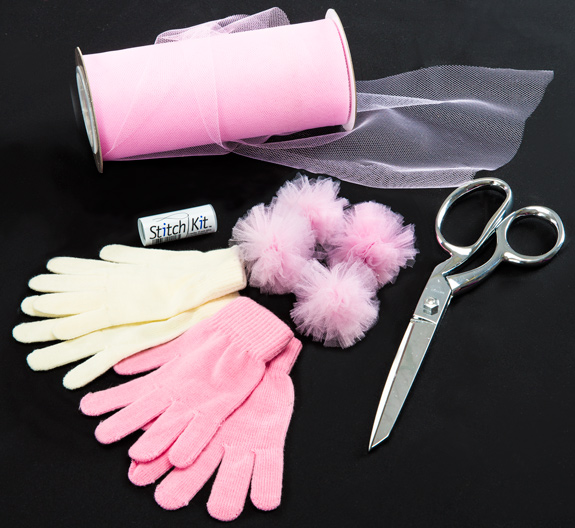
Supplies:
1 Tulle Spool
1 Pair of Gloves
Scissors
[button color=”black” link=”https://dancelife.co/wp-content/uploads/2013/12/TutuPuffGloves_Supplies.pdf”]Print This List![/button]
[/tab]
[tab id=2]
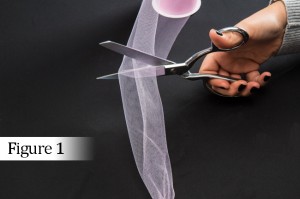
Making your Tutu Puffs:
Step 1: Cut a piece of tulle approximately 6 inches long and set aside. (Fig. 1)
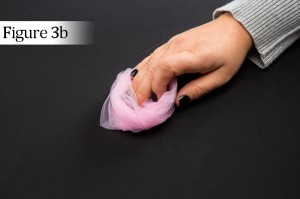
Step 2: Wrap the tulle, snugly but gently, around your four fingers about 10 times. (Fig. 2a- Fig. 2c) Cut the tulle from the spool.
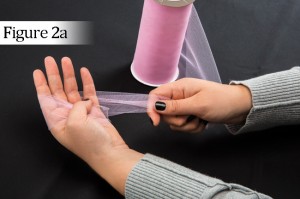
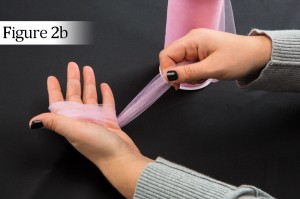
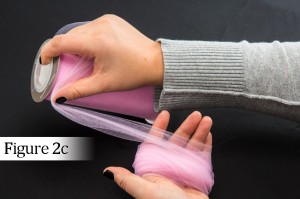
- TIP: For larger Tutu Puffs you can use a piece of cardboard to wrap the tulle around, but remember: as you increase the size you will need to wrap more times so that your tutu puff stays nice and full.
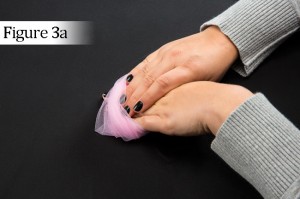
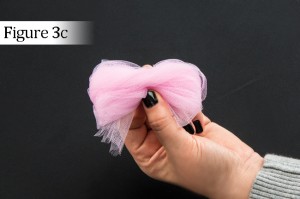
Step 3: Gently slide the tulle off your hand and grasp around the middle so that you have what looks like a bow. (Fig. 3a- Fig. 3c)
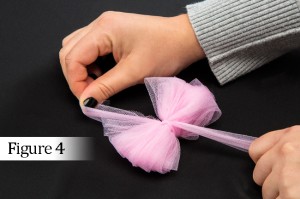
Step 4: Use the piece of tulle you cut earlier to wrap around the center of the “bow” and tie securely. (Fig. 4)
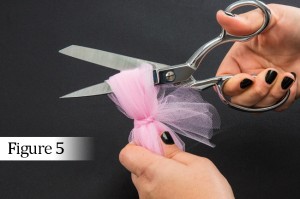
Step 5: Slip your scissors through a loop of the “bow” and cut. (Fig. 5) Repeat both sides.
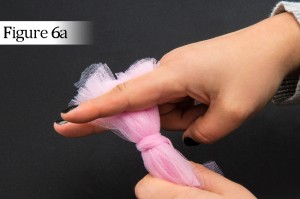
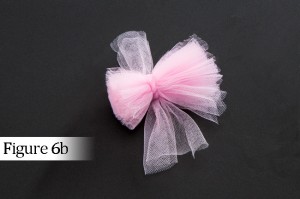
Step 6: At this point you’ll notice that your edges are fairly uneven. (Fig. 6a) Trim approximately one half inch off the end for nice clean edges. (Fig. 6b) Repeat both sides.
- NOTE: There is no need to trim the “tails” from the piece you tied around the middle. You can use those to hold on to your puff while you’re working and trim them at the very end.
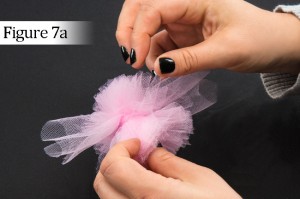
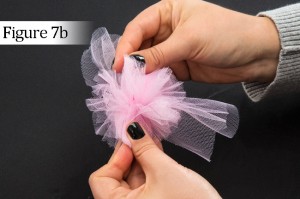
Step 7: Take your cut and trimmed tulle “bow” and gently pull apart the sides to fluff up your Tutu Puff. (Fig. 7a -Fig. 7b)
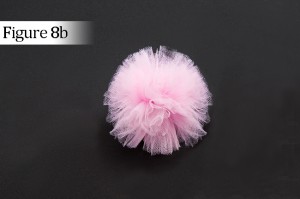
Step 8: When you are happy with your Tutu Puff’s shape, trim off the tails and any little straggler pieces. (Fig. 8a- Fig. 8b)

Repeat Steps 1-8 so that you have one Tutu Puff for each glove. We made two pairs of gloves, so we repeated the Tutu Puff steps 4 times.
Attaching Your Tutu Puffs:
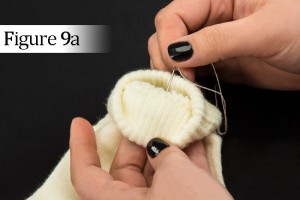
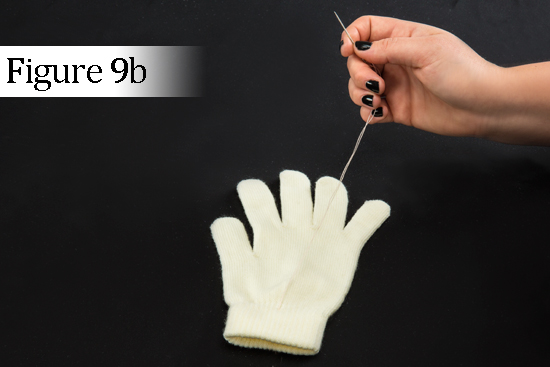
Step 9: Thread your needle with about 12 inches of thread and knot the end. Starting from the inside of the wrist where you want to attach your Tutu Puff (Fig. 9a), pull your needle and thread all the way through (Fig. 9b).
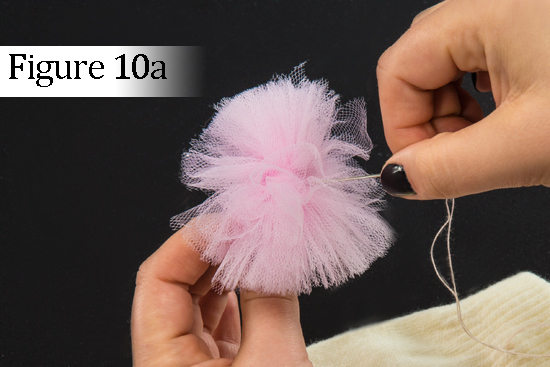
Step 10: Poke your needle through the center of a Tutu Puff and slide it into place. (Fig. 10a –Fig. 10b)

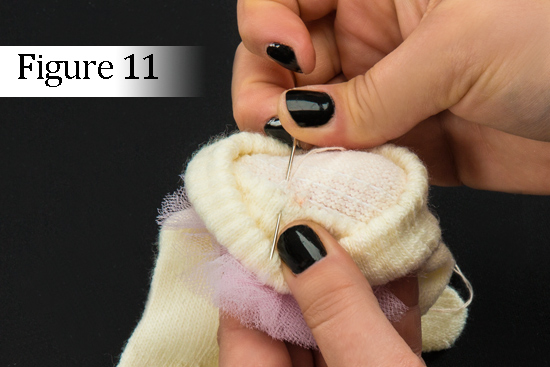
Step 11: Push your needle back through the Tutu Puff so you are working on the inside of the wrist, and stitch through glove and Tutu Puff several times to secure. (Fig. 11) Finish with a knot and your glove is ready to wear!
Repeat steps 9 -11 for each glove and you have a one-of-a-kind accessory!
[/tab]
[/tabs]